The Scrap Project: Paper Garlands

This is a quick project that can be easily customized using different paper colors and shapes. I first made these paper garlands a few months ago for a photo booth! You can use them to decorate for a party, drape them across your mantel, or layer them for a backdrop. This project is also super kid-friendly!

Materials:
Paper
A shape to trace
Pen/pencil/crayon
Scissors
Sewing machine or needle
Thread

1. I used a roll of kraft wrapping paper for my garlands. Trace whatever shape you want onto your paper. You can use a mason jar, mug, or bowl to trace circles. Kids can help with this step!

2. Cut out all of your shapes. You’ll want a lot to make a long garland. If you have die cuts, this part of the process will go a lot faster.

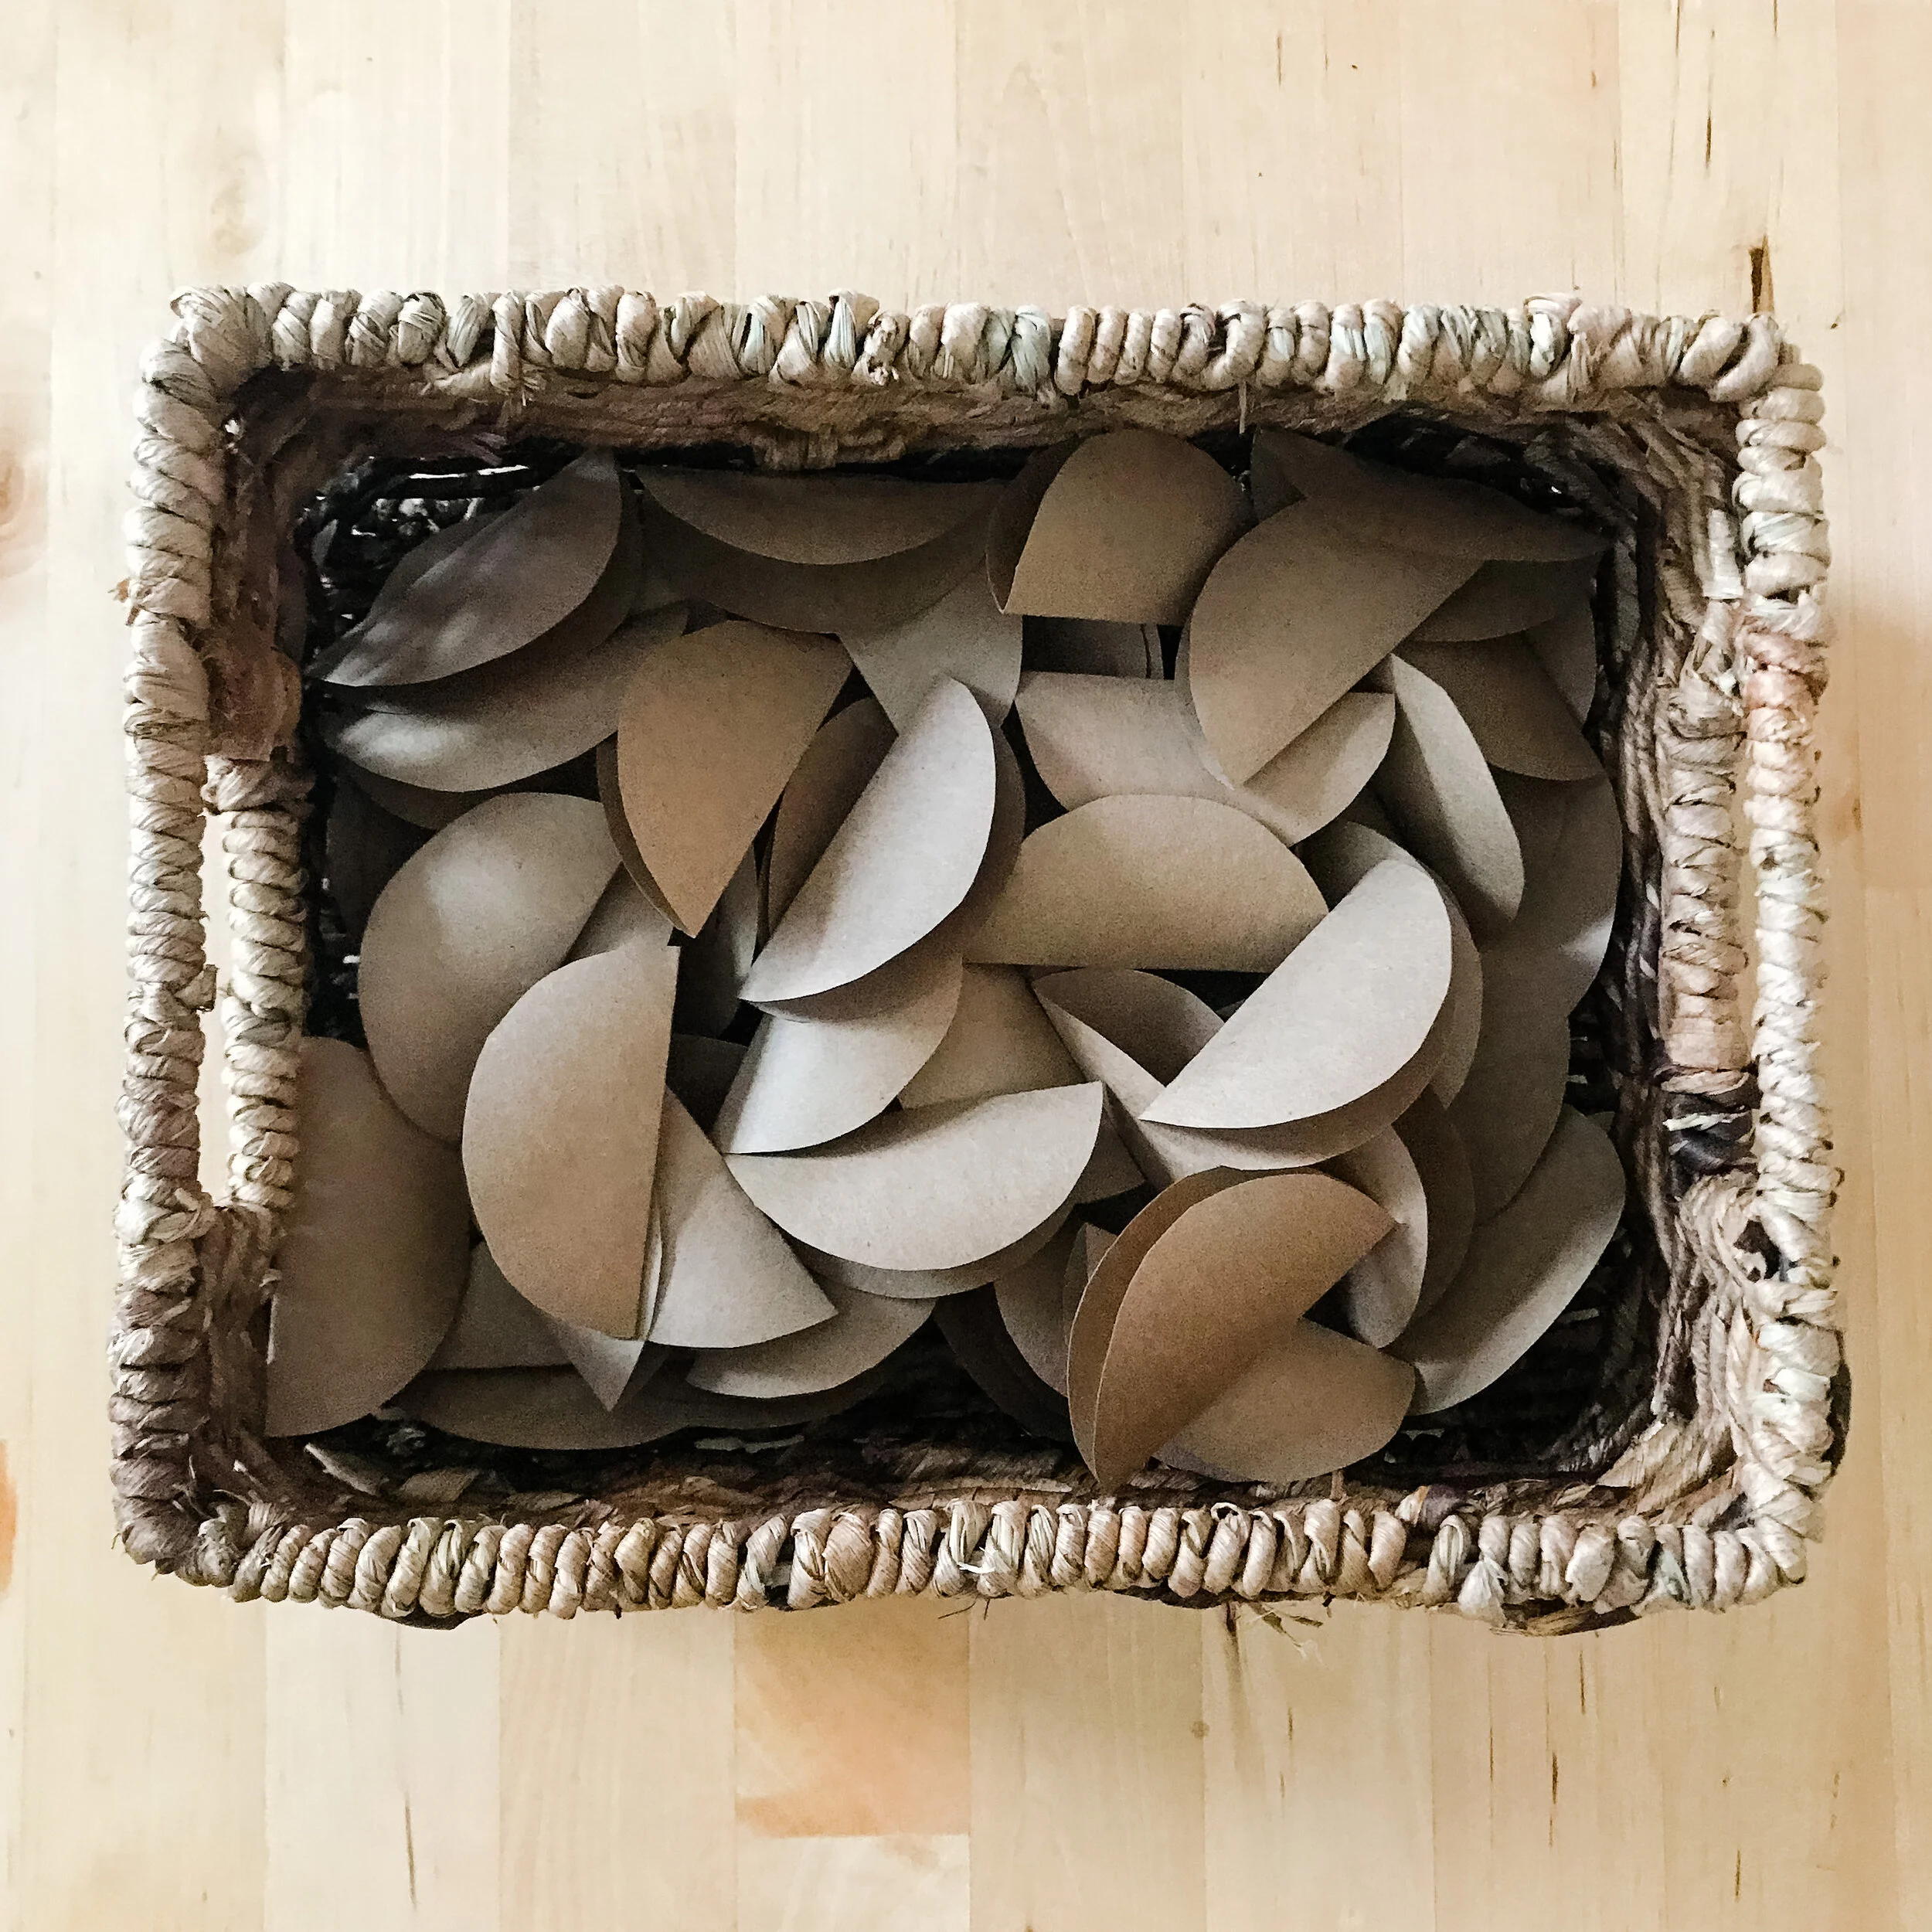
3. I like to fold my circles in half to give them more dimension.
4. Get ready to sew!

5. You can use a sewing machine or needle and thread.

6. I chose contrasting thread colors for my garlands. The thread will stand out more if you sew them by hand using embroidery floss or yarn.

7. Sew through the centers of your shapes. I added each shape as close as possible to the last without overlapping.

8. All done! I folded my circles for one garland and left them unfolded for the other.
I’m so excited to see what you make! Don’t forget to use the hashtag #scrapproject2020 if you post your paper garlands on Instagram!
Happy Making!